


 the witches house
my second kit build at a 1/48 scale was so challenging. I don't usually get shaky hands or issues with smaller builds but this one was really testing my tweaser abiltities. Happy Halloween

My second kit build at a 1/48 scale was so challenging. I don't usually get shaky hands or issues with smaller builds but this one was really testing my tweaser abiltities. It took months to finish not because it was so involved, but because I would just get tired and frustrated. ADHD is a disease and she comes for us all. But the important thing here is that i did finish and that I was able to accomplish my nemisis from my first kit build: electricity and wiring. Enjoy my journey!
 | ||
the kit
The Luna Magic House DIY Kit was a kit that attracted me becuase of it’s spooky theme. I got it around Halloween (despite not finishing til like…April). I also wanted to try a smaller build after my first kit. I linked to a fairly affordable shop - but I’ve seen this kit go for up to $100. It’s definitely a cheaper kit so don’t buy it for more than $30, I”m pretty sure that’s what I paid for it. While it’s definitely pretty and fit together decently the translations on the instructions weren’t very clear. It was a little harder to follow than previous builds. Anything more than $45 is really unfair for the quality that you’re getting.
the mechanics
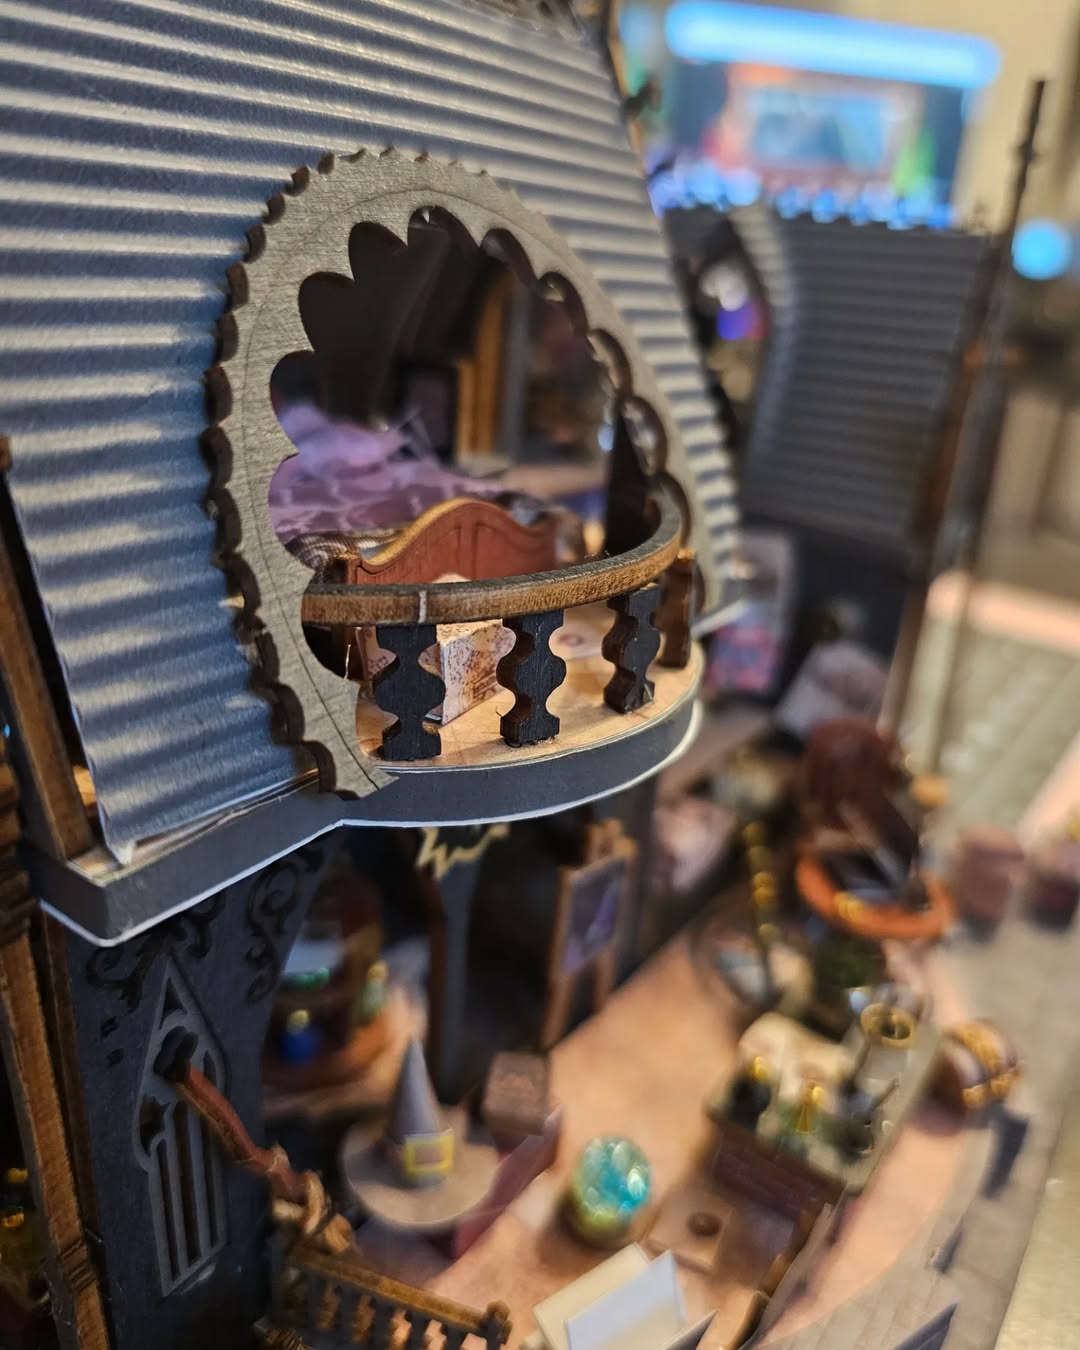
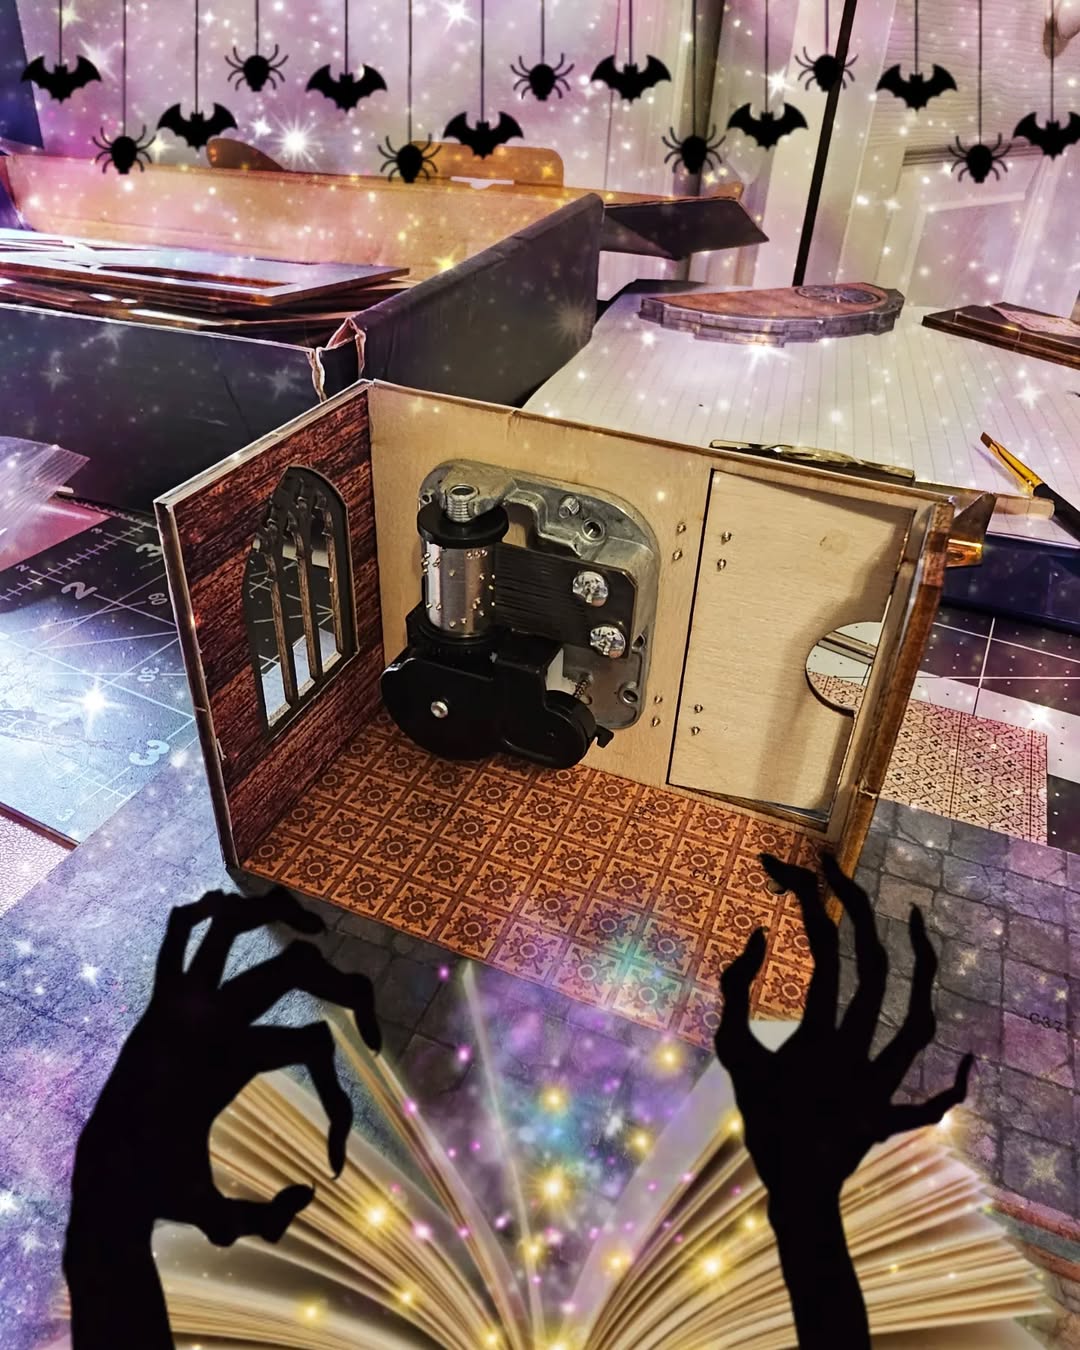 This was the first time I was able to get electricity to work properly, I was much more prepared and throughly read through the instructions this time around. I also was able to utilize a music box component which was so charming. I was very happy with how well these interactive components worked.
the structure
 Here’s a great example of why I dislike kits in general, they’re so easy to misalign. This was the first room in the build - and being so early in the process i was focused as much as possible to keep everything perfectly aligned. but sometimes the pieces they give you just dont fit the way they show the build in the instructions.
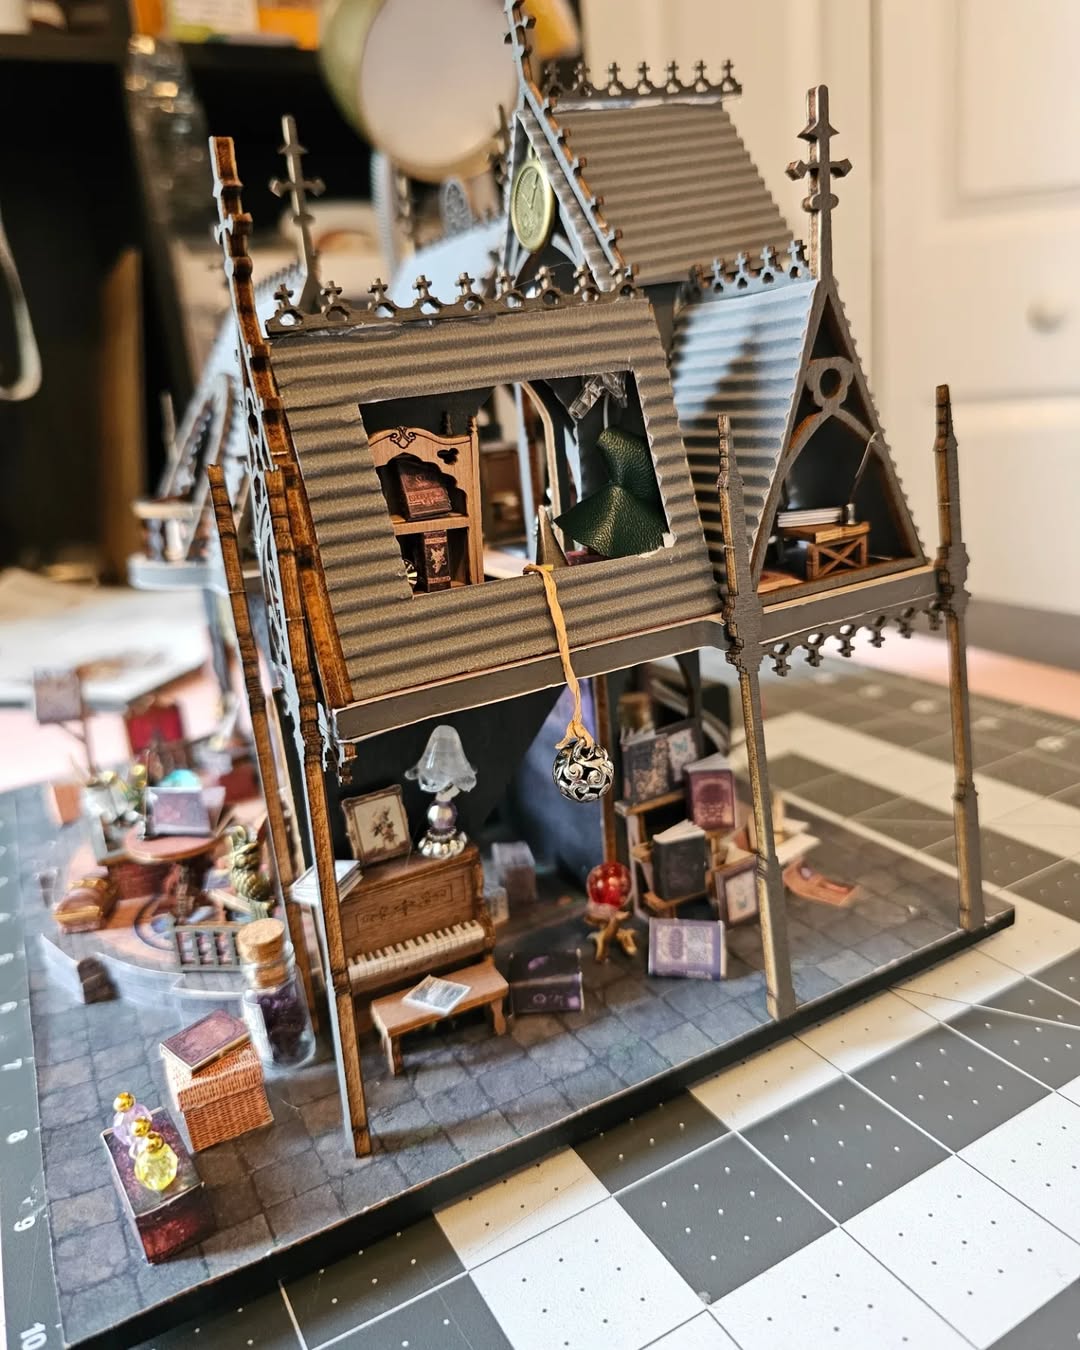
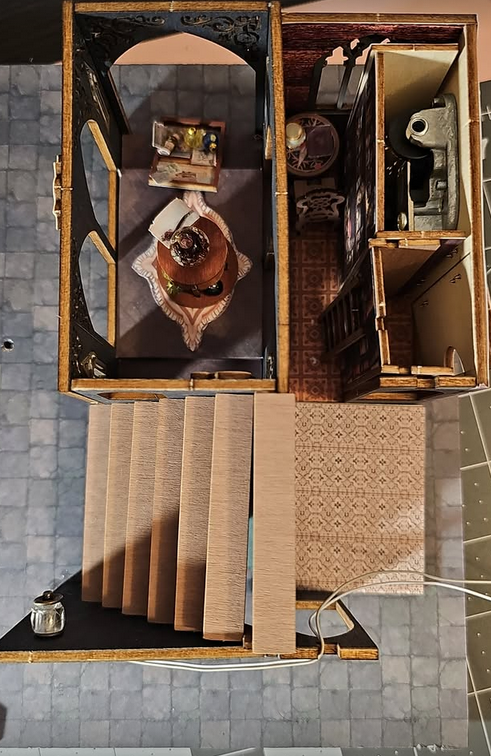 You can see at the bottom layer that all those little imperfections start totaling up and build on top of each other. As I’ve done more of these kits one thing I’ve learned is you have to use more tools like a straight edge, sandpaper and clamps to make sure everything is aligned and stays in place. Glue one thing at a time and make sure it’s exactly where you want it to be.
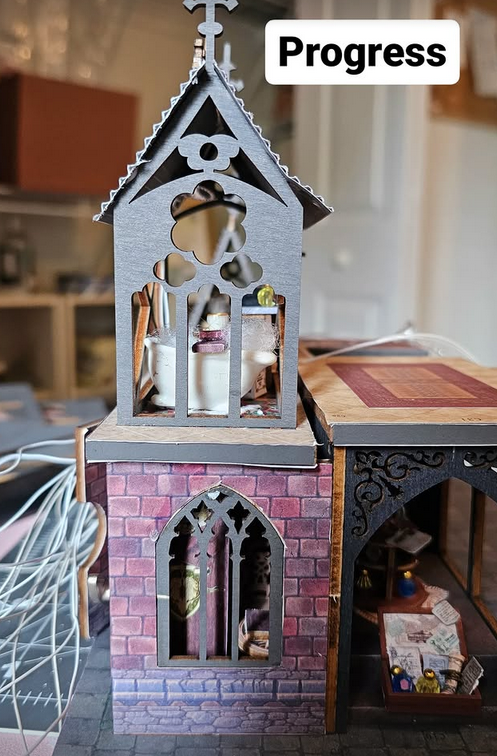 this may have been from the wires, but these little gaps irk me to no end. Thankfully the theme of the project allowed the house to look a little helter skelter.
the little details
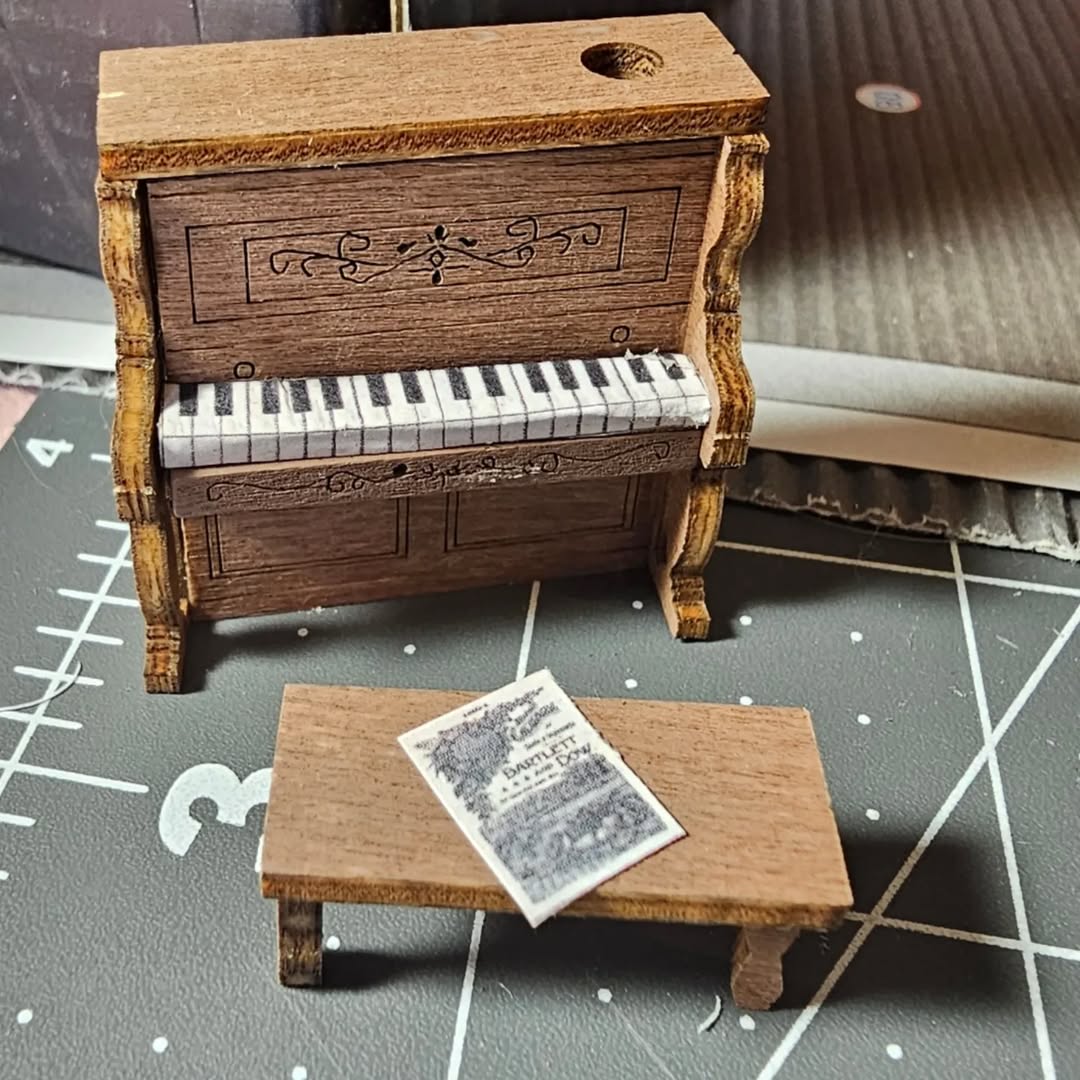
 As I mentioned earlier, I wouldn’t recommend spending too much on this kit because they really held back when it came ot the details. The frabic was so cheap, I dont even know if you can see the fraying fibers from this picture. Most of the material was paper based which is common… but this set had a lot more. I love printables for how they can really make things look more realistic, but this set was again, not molded well. The piano below is a perfect example, the keyboard was nearly 4 cm longer than the wood. I feel like that’s something you should have measured out??
The final form
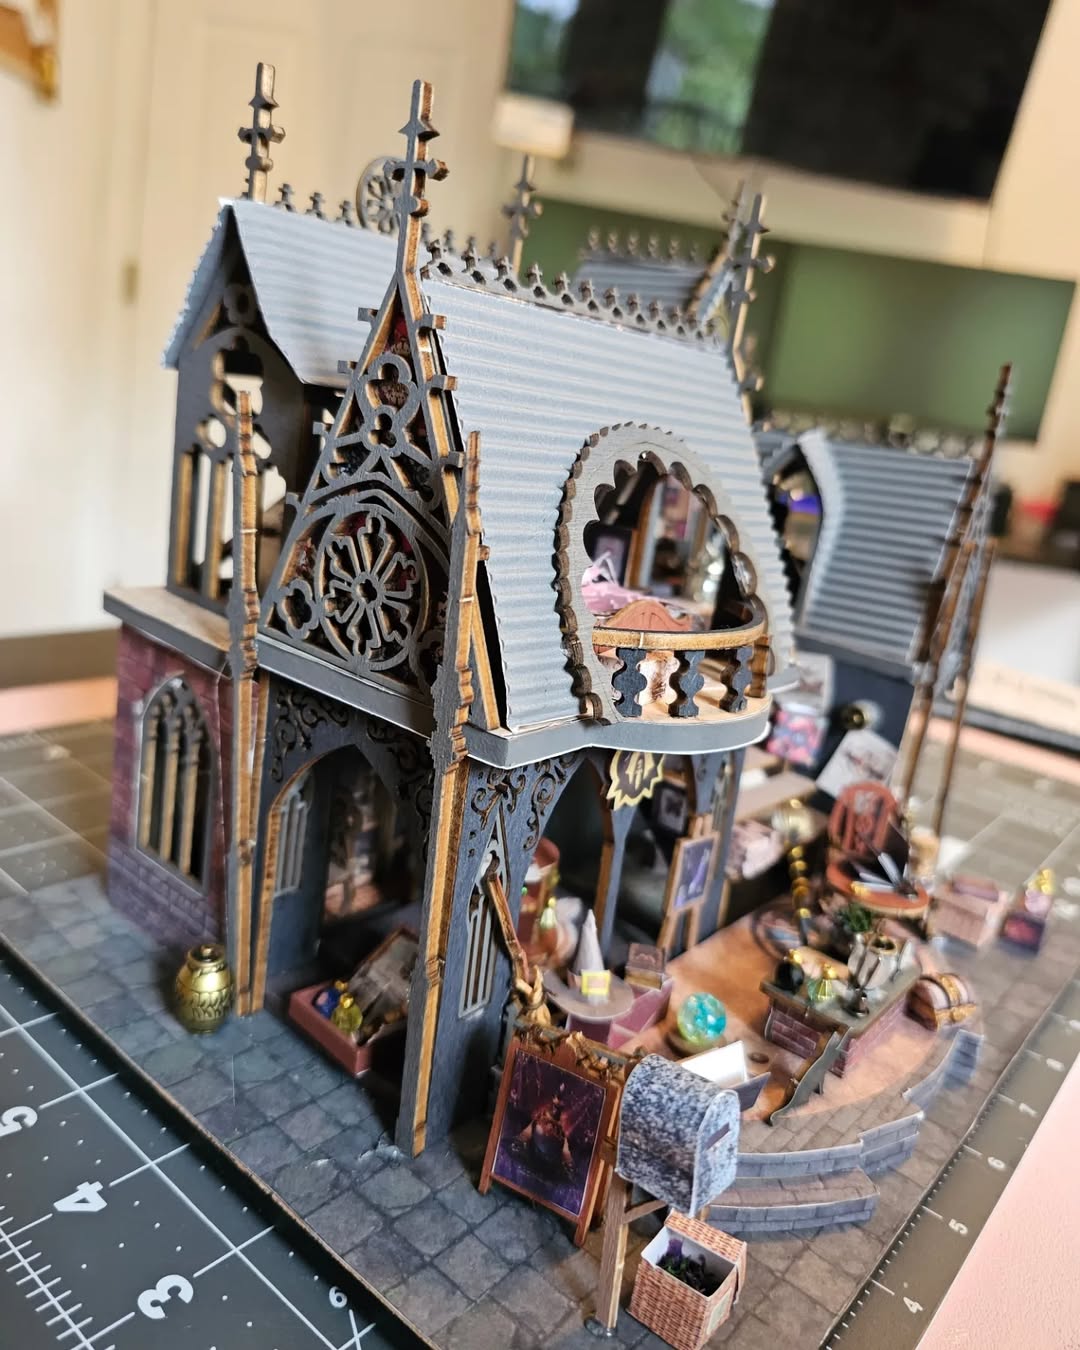
My overall rating on this set was mid. Considering I didn’t pay too much and enjoyed the build process it was worth it. And like I said the mechanics worked nicely! But considering the build issues I had for my second build, I likely wouldn’t go with this brand again. Sometimes it can be onsale for $20, if that’s the case then go ahead and knock yourself out, especially if you like the theme. Otherwise don’t break your bank on this one.